The Loyalty Component helps you incentivise your app users and create a loyal base of customers. It can be used by fast food chains, restaurants, barber shops and any other business which has direct interaction with their customers.
Loyalty component has 3 parts:
App Admin - The App Admin is the super admin of the app.
Staff Member - Staff member can be an employee of your business whom you want to give the scanner access and who can help your app users get loyalty stamps added to their accounts. (App admin can himself become staff member)
App User - App users are your customers who visit your business to get loyalty stamps added to their accounts.
Admin Experience - Beezer dashboard
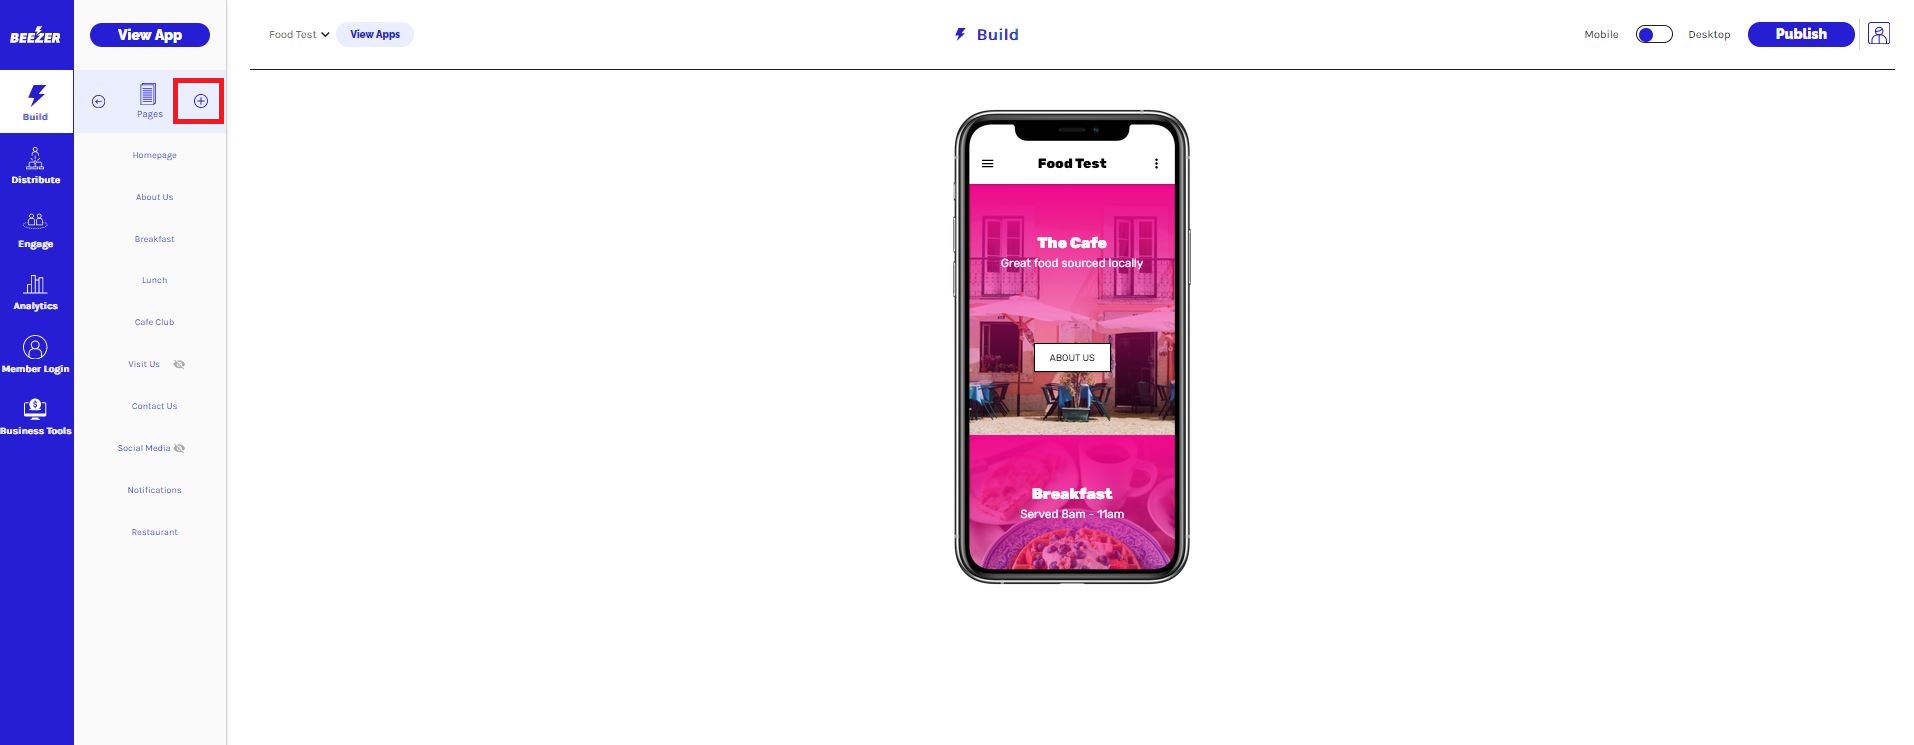
- To add the Loyalty component in your app, please click on the Build section of your Beezer dashboard and click on Pages section.
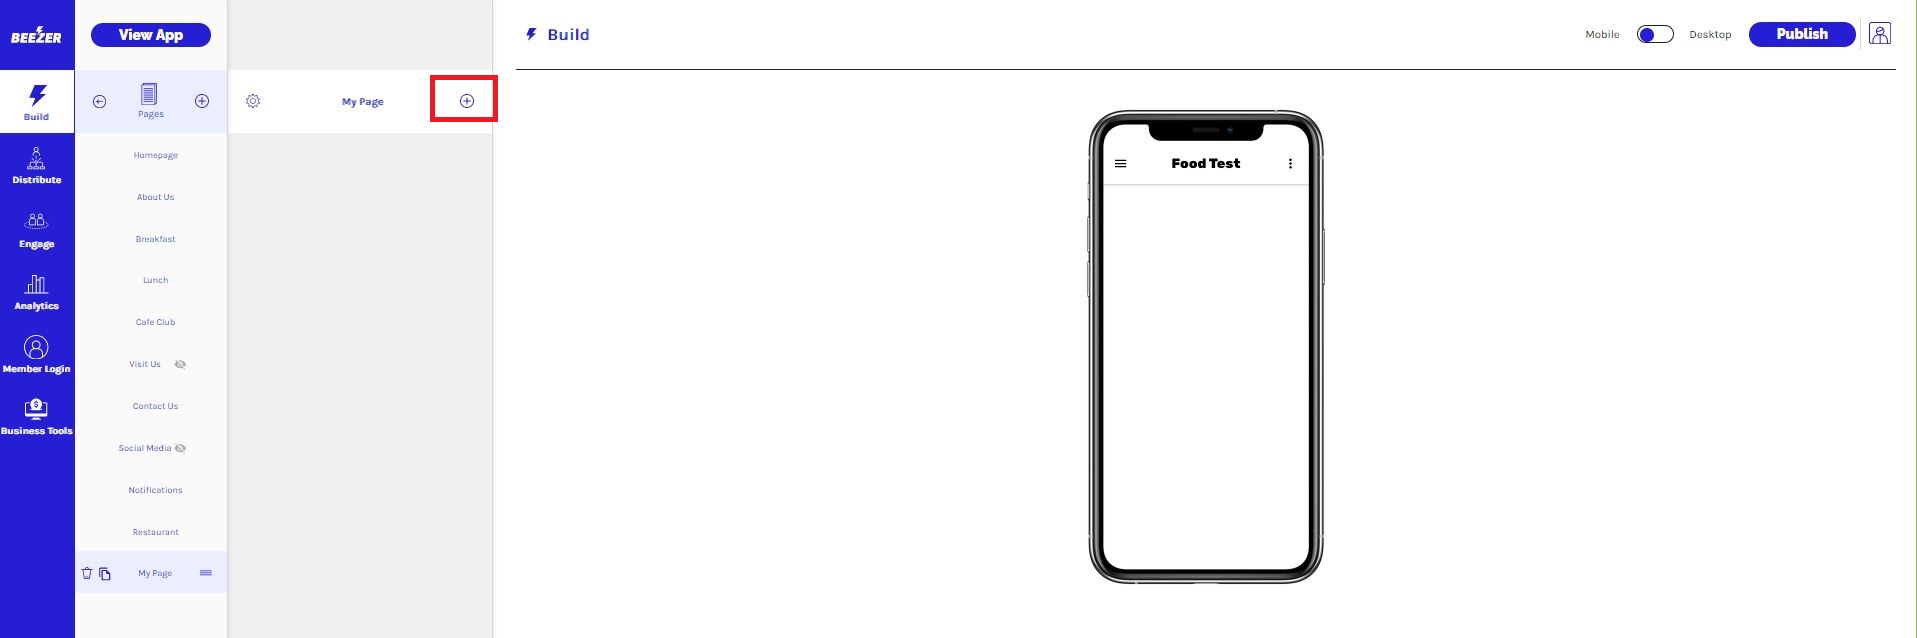
- Create a new page by clicking the + sign next to Pages option.
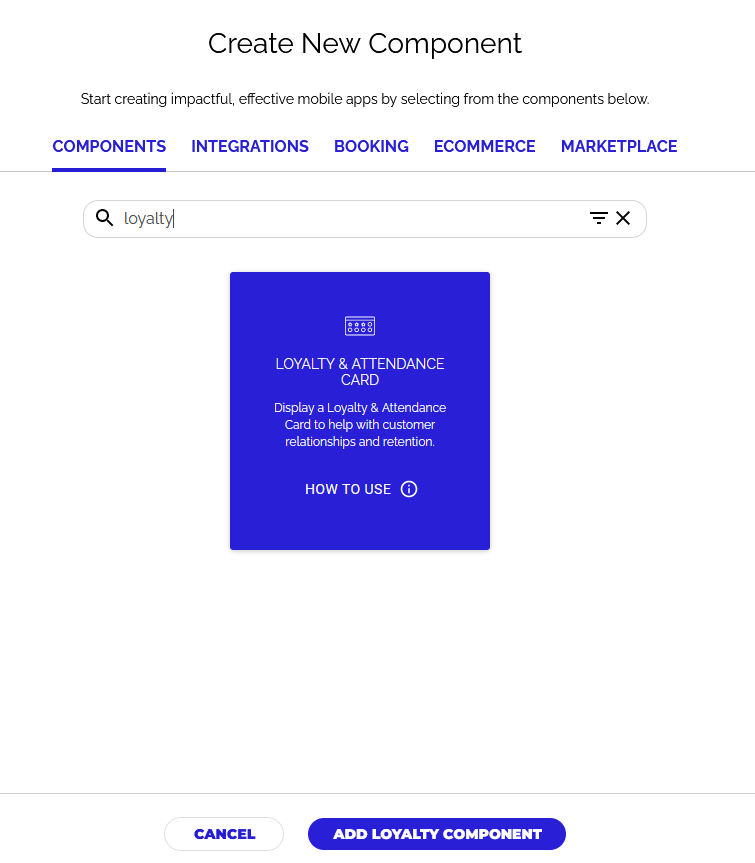
- Click on "Add Component (+ plus sign)" option. You will see a new dialog box from where you can add the "Loyalty Component" to the desired page.
- You can add/update following options in "Content" section of your Loyalty Component:
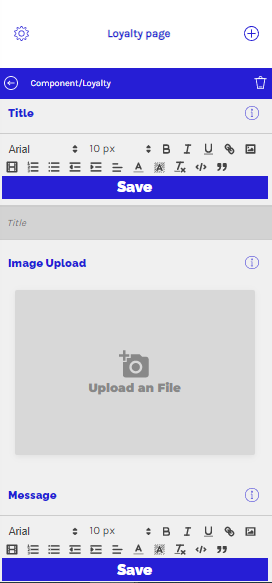
-
- Header/Title
- Image
- Message
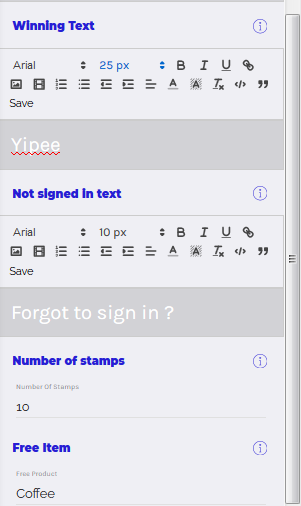
- Winning Text
- Not Signed in Text
- Number of Stamps
- Free Item
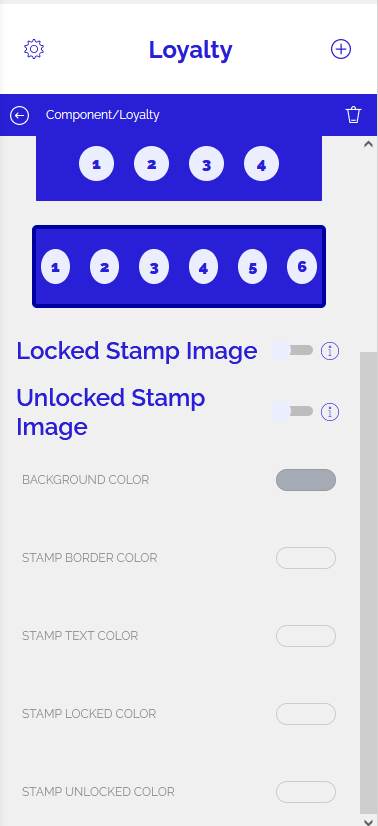
- You can override the design from the "Design" section of your Loyalty Component:
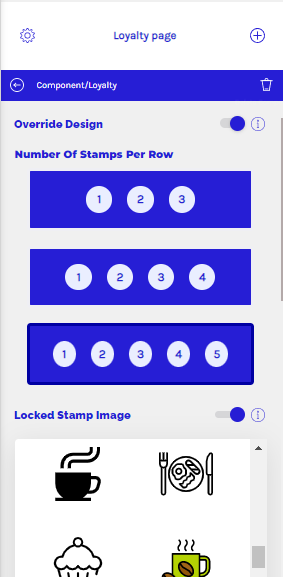
-
- Number of Stamps per row
- Locked Stamp Image
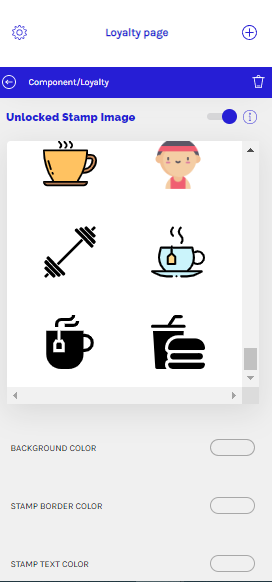
- Unlocked Stamp Image
- Colours - Background, Text, Border, Locked and Unlocked Stamp colours.
After setting up your Loyalty component on your Beezer dashboard, you have to grant user access to the scanner. Please follow the steps given below to grant access to the device scanner for your app:
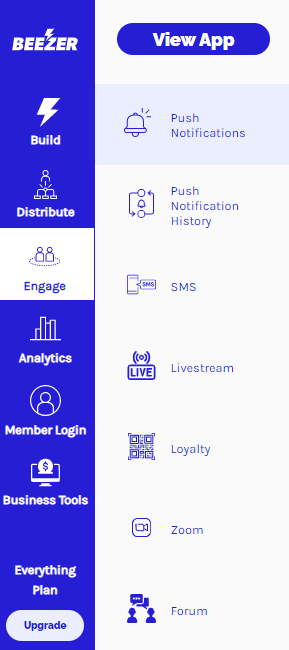
- Step 1 - Navigate to the Engage -> Loyalty section in your Beezer Dashboard:
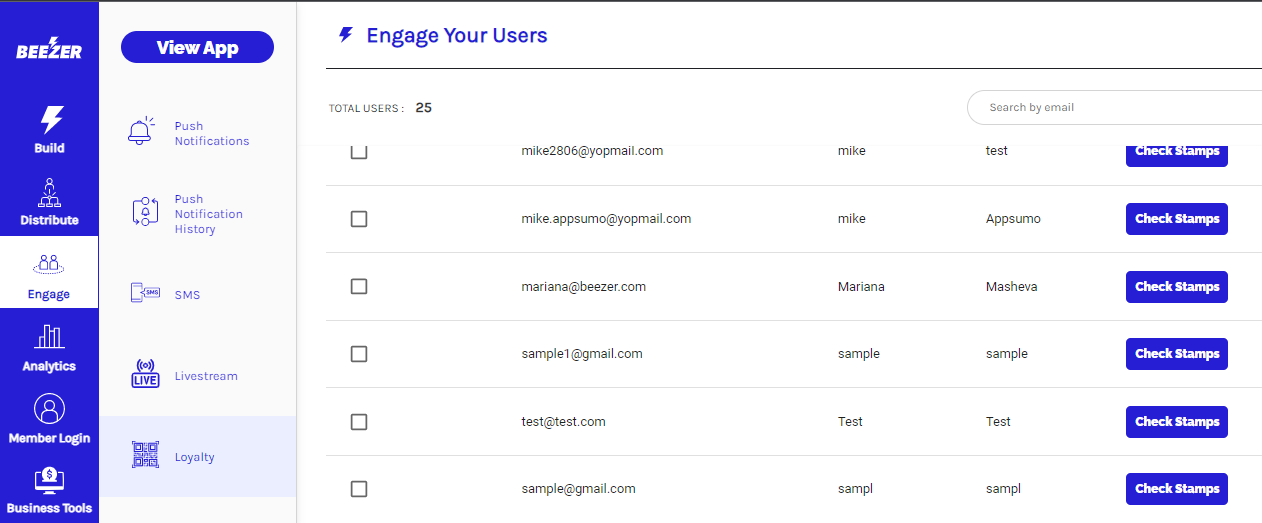
- Step 2 - In Loyalty section, you'll find a list of all users who have registered on your Beezer app on the right-hand side under "Engage your users".
- Step 3 - To grant access to the scanner, please select the Staff/User/Admin by clicking on checkbox next to their email id. Please note that this user will have access to the camera (while using the app) and can scan the loyalty barcodes of your app users (registered members) who will be visiting your business location.
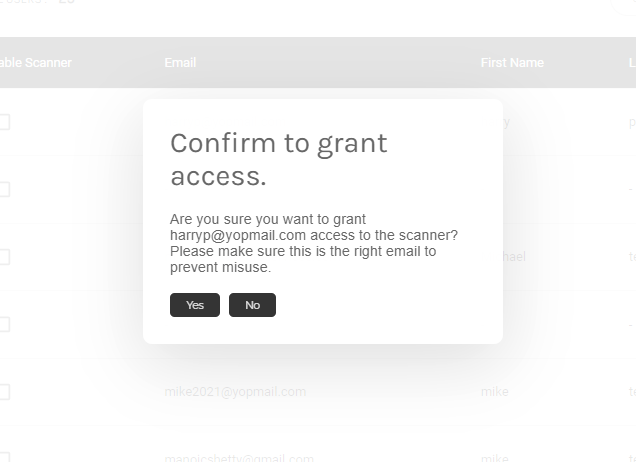
- Step 4 - Click on "Yes" to provide access to the in-app Barcode scanner. Once you grant access, the checkbox will be marked by a tick mark.
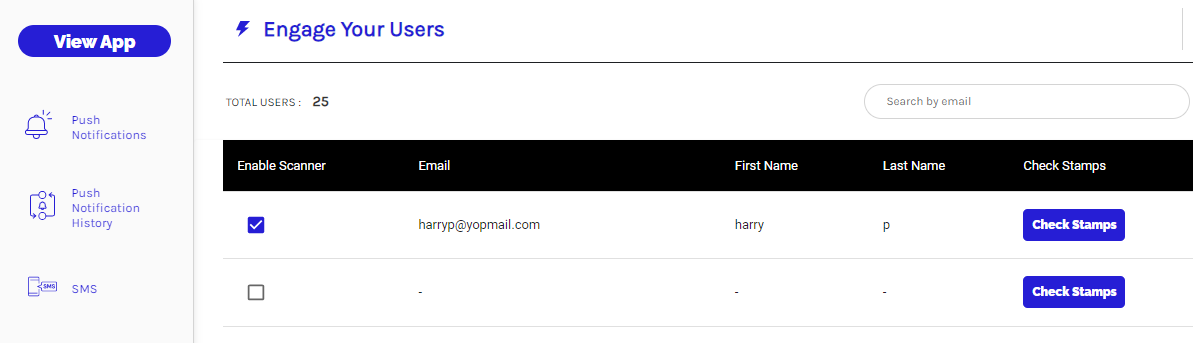
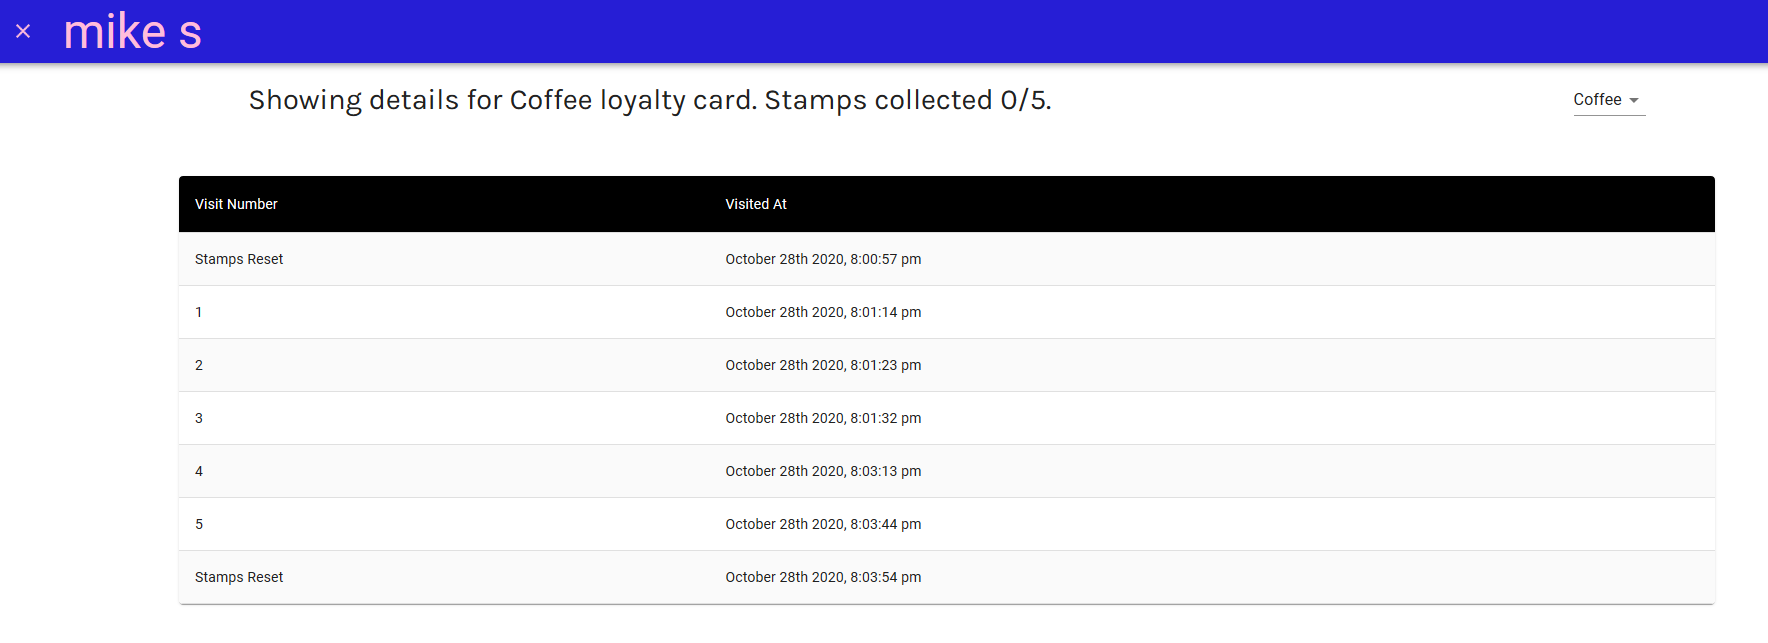
- Step 5 - To check the number of stamps your app user has redeemed, click on the "Check Stamps" button. A popup box will appear showing the user details with stamps or points collected.
Staff Experience - User having scanner access
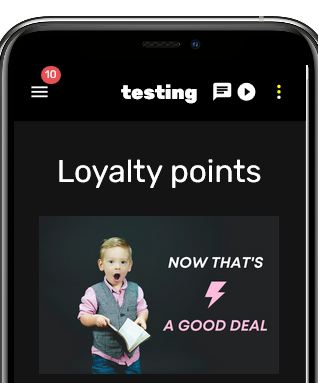
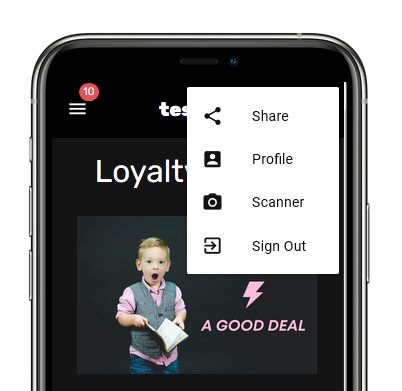
Below is an example of how the Loyalty component looks in the app.
The Staff member needs to click on the 3 vertical dots on the top right-hand side corner of the app and select Scanner.

They will be shown the rear and front camera options and need to select the rear camera option to scan the loyalty barcode displayed on the registered member's app who is visiting your business location. This will add a stamp to the member's app whose barcode was scanned by the staff member.
User Experience - Loyalty Component
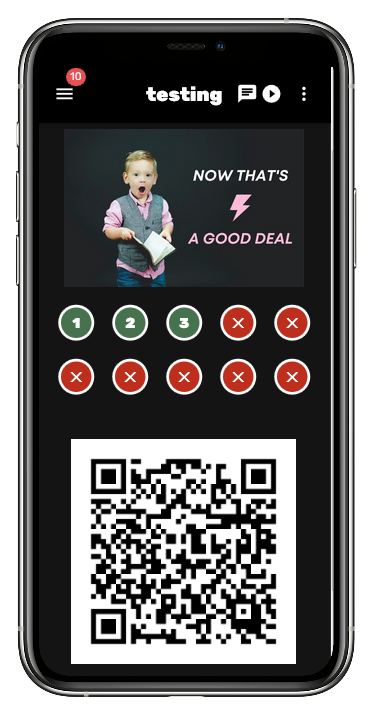
Below is an example of loyalty component on user device:
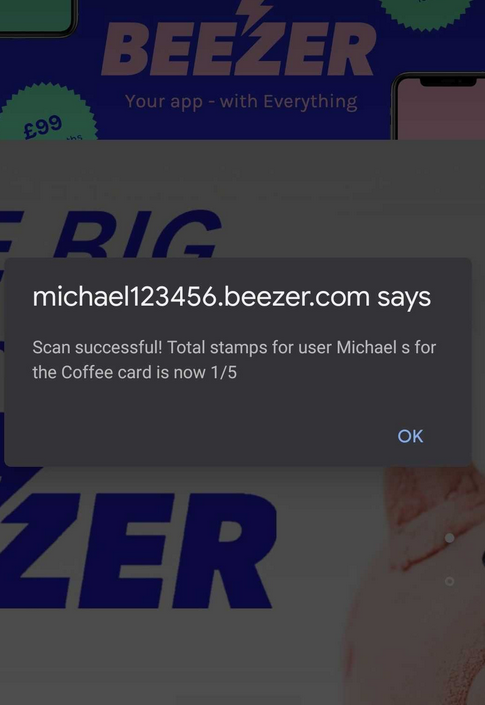
To avail Loyalty stamp/offer/prize, they will have to show the loyalty barcode available in their app to the staff/admin who has access to the scanner inside the app.
Once the staff/admin scans the barcode using their app, the user will get a confirmation message informing about the number of stamps redeemed and number of stamps left to receive the prize/free item.